nopCommerce is a very powerful eCommerce solution for anyone looking to sell products online. Last month, we walked you through the exact steps on how to install nopCommerce 4.00 on your PeoplesHost account.
There are many nopCommerce users running nopCommerce 3.9. This is because many web hosts still have not provided support for the required .NET Core 2.0 on their environments. PeoplesHost fully supports .NET Core 2.0 and upgrading nopCommerce from version 3.9 to 4.0 is a fairly simple process. You’ll want to follow the instructions below and make sure to create a backup of your database and files before moving forward.
- Warnings Before Upgrading to 4.00
- Backup Database & Website Files
- Download nopCommerce 4.00 Upgrade Files
- Download Microsoft SQL Server Management Studio
- Connect to Your Database in SSMS
- Remove Old nopCommerce Files
- Upload nopCommerce 4.00 Files
1. Warnings Before Upgrading to 4.00
There are major changes from nopCommerce 3.9 to 4.00. If you’re planning on upgrading nopCommerce, you’ll need to make sure that you have the 4.0 version of your theme’s files and any plugins. Most theme providers will allow you to download your theme’s files for a specific version of nopCommerce. Please make sure you have the correct files to upload after the upgrade is completed.
2. Backup Database & Website Files
Before upgrading nopCommerce 3.9 to 4.00, you’ll want to make sure you create a backup of your database and website’s files. This will allow you to revert back to nopCommerce 3.9 if you encounter any issues with the upgrade to 4.00.
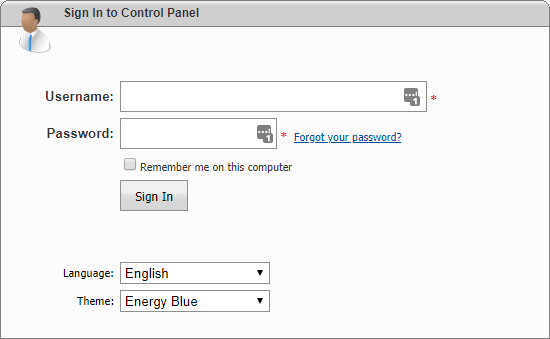
Assuming you have an account with PeoplesHost already, you’ll want to log into your hosting account’s control panel. This information was included in your Welcome email when you first signed up. If you forgot to save that information, please view your account’s email history to access that Welcome email.
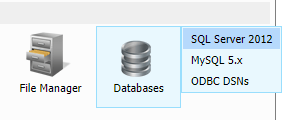
After logging in you will see icons to navigate to various parts of the control panel. Hover over Databases and click SQL Server 2012.
Click your existing nopCommerce database. In this example, our database is named nopupgradedemo. On the next page you will see Maintenance Tools and a Backup button. Click this button to proceed.

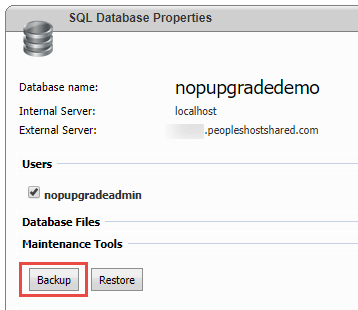
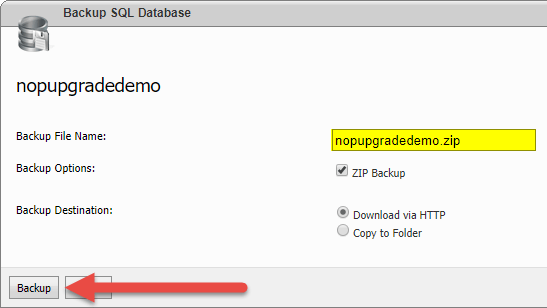
On the next page you can create the backup of your nopCommerce database and choose to download it via HTTP or Copy the backup file to a Folder on your account. In this guide, we’re going to download the database backup file locally to our computer.
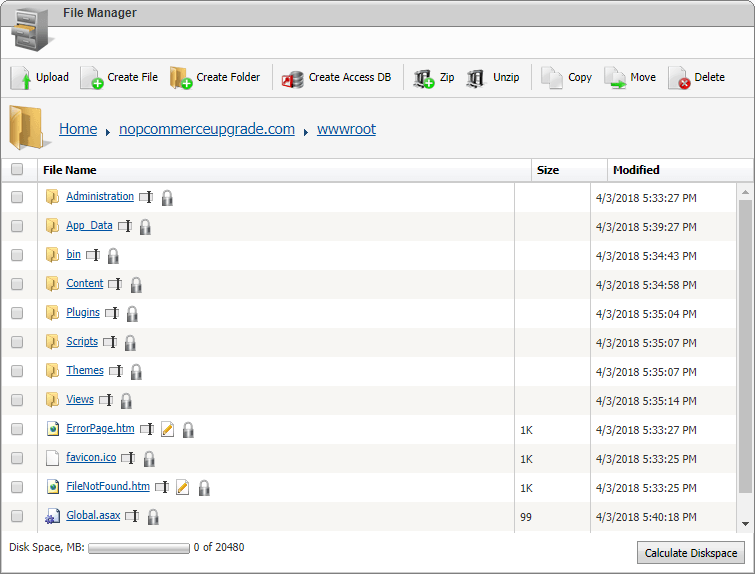
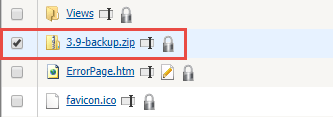
Next, you’ll want to backup your site’s files. Navigate back to your control panel dashboard and click the File Manager icon. This will open File Manager and allow you to navigate to your wwwroot folder where your existing nopCommerce files reside. It will look something like this:
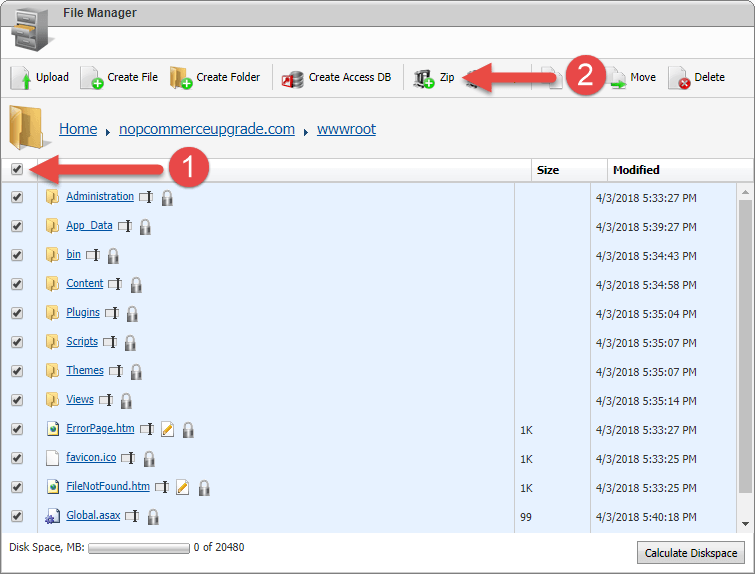
Select all of the files inside of your wwwroot folder and click the Zip icon at the top. This will create a .zip backup file that contains all of your nopCommerce website files.
You will be asked to name the .zip file. In this example we have named our .zip 3.9-backup. Click the Zip button once you have chosen a file name. Please be patient if the screen does not re-load and take you back to the File Manager screen right away. The .zip creation process may take a while depending on the size of all the files it’s creating a .zip package for.

When the .zip backup of your files has been created, you will be redirects back to File Manager where you will see it inside of the wwwroot directory. You can choose to leave it there (make sure you don’t delete it by accident) or download that .zip package locally to your computer.
3. Download nopCommerce 4.00 Upgrade Files
To upgrade from nopCommerce 3.9 to 4.00 you will need download the nopCommerce 4.00 package and upgrade files. You can download the upgrade files on GitHub.
- nopCommerce_4.00_NoSource.rar
- nopCommerce_4.00_UpgradeScripts.rar
Inside of the nopCommerce upgrade package is a Readme.txt and upgrade.sql file. You will need the contents of the upgrade.sql file for the next step using SQL Server Management Studio (SSMS).
4. Download Microsoft SQL Server Management Studio
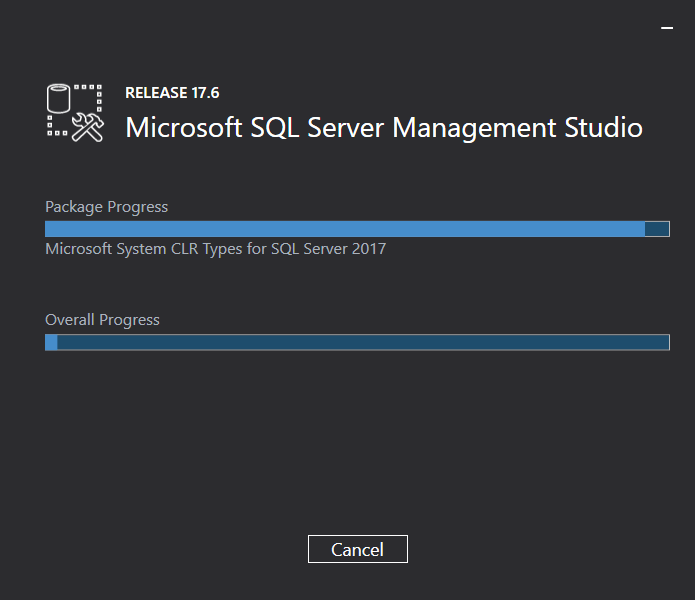
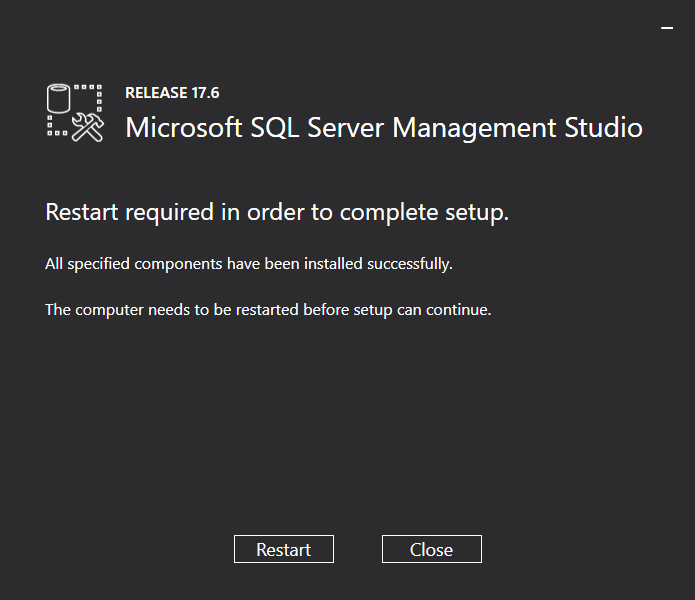
In order to proceed with the upgrade process you will need to have Microsoft’s SQL Server Management Studio (SSMS) installed on your computer. Download the latest version of SSMS and install SSMS to continue with this walkthrough.
5. Connect to Your Database in SSMS
Now that you have successfully installed SQL Server Management Studio, open SQL Server Management Studio and click File > Connect Object Explorer… to connect to the SQL server remotely.
If you do not know your server’s hostname, please contact support. This information can be found in the initial Welcome email our billing system sent to you when you first signed up.

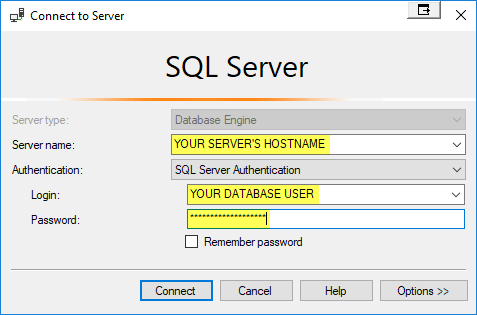
Expand the Databases folder. You will need to locate your database in the expanded list. In our example, the database name is nopupgradedemo.
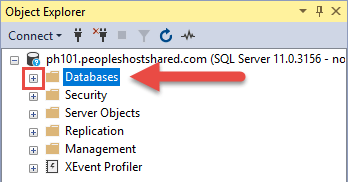
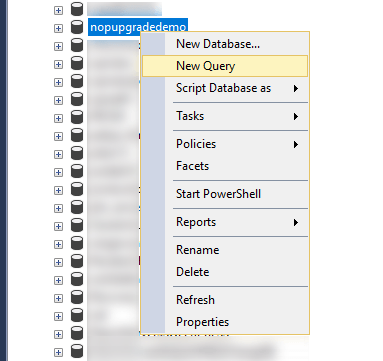
Right click your database and select New Query from the drop down. A new windows will appear in the middle of your screen. This is where you will paste the contents of the upgrade.sql file you downloaded in previous steps.
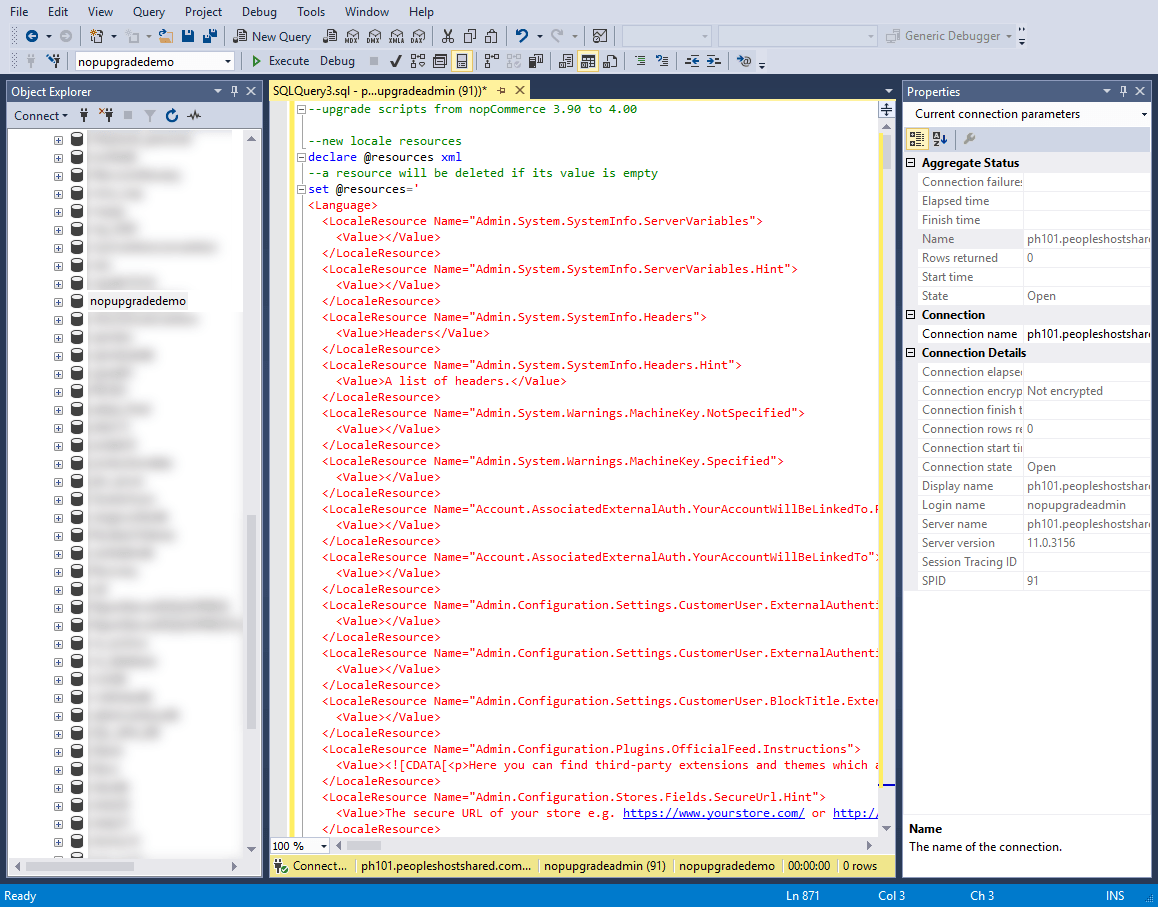
Open the upgrade.sql file on your computer using a text editor such as Notepad++. Select everything in the editor and copy your selection. Paste that selection into the query box that was opened in SQL Server Management Studio.
It should look something like this:
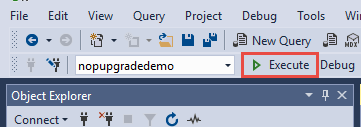
Click the Execute button to run the upgrade script over your existing database. You will see Query executed successfully. at the bottom of your screen.
6. Remove Old nopCommerce 3.9 Files
Connect to your account using the WebsitePanel control panel or via FTP and navigate to your wwwroot folder.
Delete ALL of your files sitting in the wwwroot directory. After all the files have been deleted, upload the nopCommerce 4.00 files into the wwwroot.
7. Upload nopCommerce 4.00 Files
Once the new nopCommerce 4.00 files have been successfully uploaded to your wwwroot folder, navigate back to the App_Data folder and upload the Settings.txt and InstalledPlugins.txt files you saved from the previous step.
Now visit your site in a web browser. It may take a while for your site to load for the first time since the app pool will have to refreshes for the first time. When you go to your site, the Settings.txt and InstalledPlugins.txt will automatically convert to their new .json formats used by nopCommerce 4.00.
In the App_Data folder you will now see the two files dataSettings.json and installedPlugins.json.
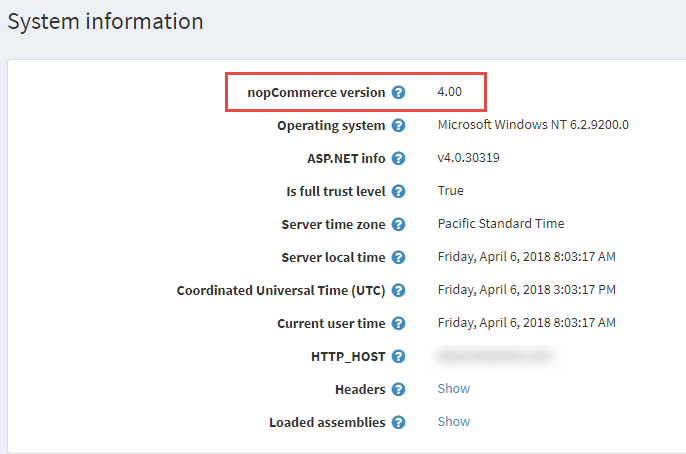
You can now log into your nopCommerce admin dashboard and see that it has been upgraded to 4.00 by navigating to the System Information page.
