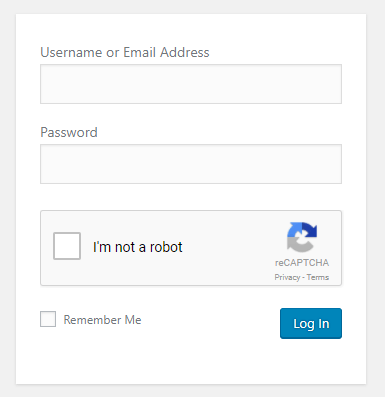
It has recently been reported that over 30% of all websites are now powered by WordPress. If you’re one of the millions of people using WordPress around the world, you may want to consider hardening your site with Google’s reCAPTCHA. Running a WordPress site makes you an easy target for various forms of malicious attacks–whether that may be in the form of spam comments, fake user registrations, brute force attacks, XML-RPC attacks, and so forth.

A great way to harden your WordPress site and protect your site from those forms of attacks is by setting up Google reCAPTCHA on your wp-admin/wp-login.php, comment forms, contact forms, etc.
- Create a Google Account
- Get Google reCAPTCHA
- Site Key & Secret Key
- Install Google reCAPTCHA Plugin
- Google reCAPTCHA Settings
1. Create a Google Account
To enable Google reCAPTCHA you’ll first need to have a Google Account (e.g., [email protected]). If you do not have a Google Account, you will need to create a Google Account before moving onto the next steps.
Go to https://accounts.google.com/signup/ to create your account.
2. Get Google reCAPTCHA
Now that you have a Google account, you’ll want to go to https://www.google.com/recaptcha/intro/ in your browser and click the Get reCAPTCHA button located at the top right of the browser window.

You will be prompted to log into your Google Account and will be redirected to a page that asks you to Register a new site. You can choose any label you’d like, we recommend putting your domain as the label so it’s easy to identify.
We also recommend choosing either reCAPTCHA v2 or Invisible reCAPTCHA. In this example, we’ve chosen reCAPTCHA v2, which will display the “I’m not a robot” checkbox where we add the Google reCAPTCHA to our WordPress site.
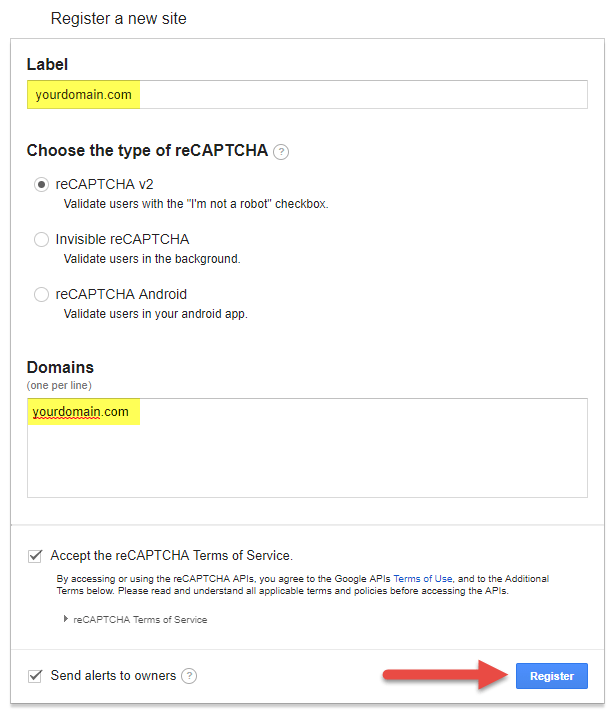
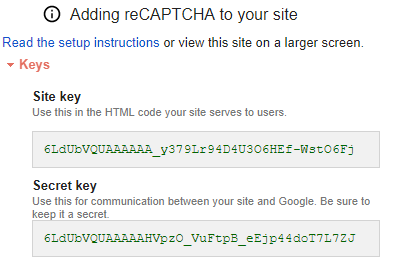
After clicking the Register button, you will be redirected to a new page displaying your reCAPTCHA Site Key and Secret Key.
3. Site Key & Secret Key
Your Site Key and Secret Key will look something like the below image. Save these two strings of text into a text document on your computer because you will need them in the following steps.
4. Install Google reCAPTCHA WordPress Plugin
Now that you have obtained your Site Key and Secret Key in your Google reCAPTCHA account you will want to log into your WordPress site.
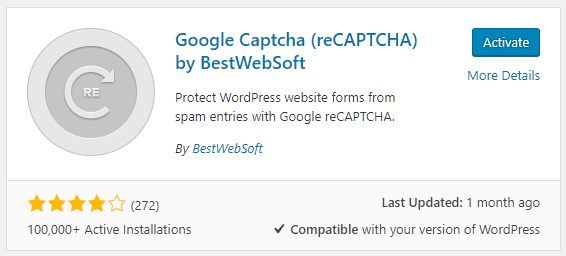
You will need to install a plugin that will allow you to add the Google reCAPTCHA to certain areas of your site. We recommend the Google Captcha (reCAPTCHA) by BestWebSoft.
Navigate to Plugins and search for that plugin. Once you see it displayed, click the Install Now button. This will install the plugin to your WordPress site.
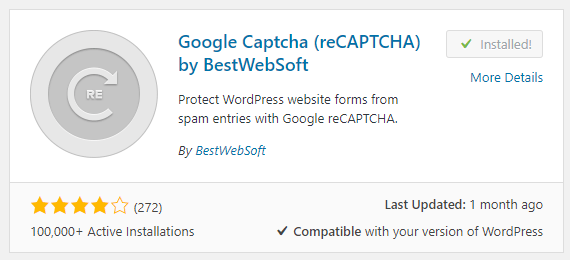
Click the Activate button to activate the newly installed plugin.
5. Google reCAPTCHA Settings
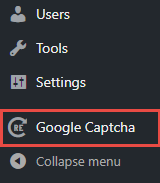
Look at the left navigation menu and you will see a Google Captcha navigation item in the menu. Click this to configure the plugin.
On the next page, enter the Site Key and Secret Key you saved from the previous step.

Choose where you would like to enable the reCAPTCHA for. We recommend keeping all of the pre-selected boxes checked.
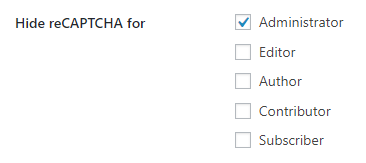
Additionally, you can choose to hide the reCAPTCHA box for certain users. In this example, we’re going to hide the reCAPTCHA box for Administrators of the site.
Click Save Changes at the bottom and you’re all set!
When you navigate to the wp-admin/wp-login.php page, a blog’s comment section, or user registration page you should now see the Google reCAPTCHA box displayed.
